Imagine waking up in the morning, speaking to your room, and having your lights turn on, your blinds open, and your daily schedule read aloud. For years, having a personal digital assistant like Tony Stark's Jarvis seemed like pure science fiction. Today, it is a reality you can build yourself.
You do not need a billion-dollar laboratory or a massive corporate server to create a highly responsive, custom-tailored digital assistant. All you need is a computer, a microphone, and the right software framework. This is where OpenClaw comes into the picture.
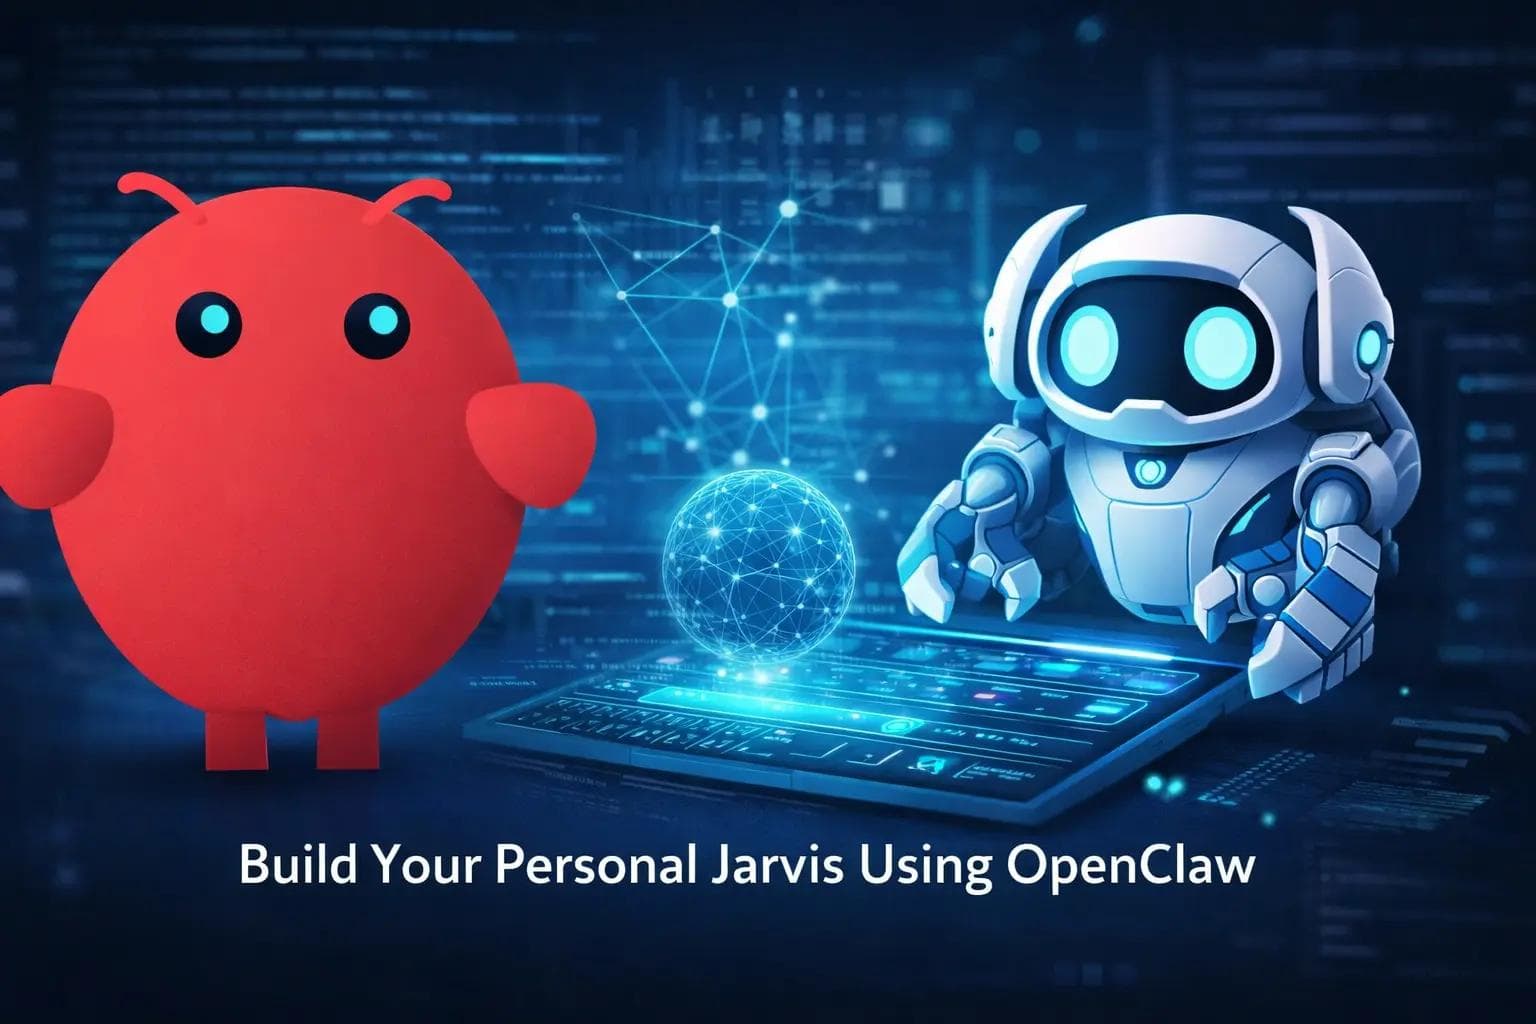
OpenClaw is a powerful, open-source automation and voice command processing framework. It allows you to link speech recognition, physical hardware, and web services into one seamless system. In this comprehensive guide, we will walk through exactly how to build your personal Jarvis from the ground up using OpenClaw.
What is OpenClaw?
Before we start writing code, it is important to understand what we are working with. OpenClaw is essentially a central nervous system for your digital projects. It acts as a bridge between voice inputs and executable actions.
Instead of relying on closed ecosystems that harvest your data, OpenClaw gives you complete control. You host it locally, meaning your voice commands and personal routines stay on your own network.
The framework is built around modular plugins, affectionately called "Claws." You can attach a Weather Claw, a Smart Home Claw, or a System Control Claw to your main program. This modularity makes it incredibly lightweight and infinitely expandable.
Why Build Your Own Digital Assistant?
You might wonder why you should build an assistant from scratch when there are off-the-shelf smart speakers available in every electronics store. The answer comes down to privacy, control, and customization.
- Total Privacy: Commercial smart speakers constantly send your audio data to remote servers. An OpenClaw system can run entirely offline, ensuring your home remains private.
- Deep Customization: Standard assistants only do what the manufacturer allows. With OpenClaw, if you want a command that specifically reboots your router and orders a pizza, you can script it.
- Hardware Freedom: You are not locked into a specific brand of smart lights or thermostats. If a device has an API, OpenClaw can control it.
- No Subscription Fees: Once you set it up, the system is yours. There are no monthly fees for advanced features or premium integrations.
Prerequisites: What You Need to Get Started
Building your Jarvis requires a few basic components. You do not need the latest hardware; in fact, many developers run their entire system on a low-cost microcomputer.
Hardware Requirements
- A Computer: This can be your main desktop, a spare laptop, or a Raspberry Pi. A Raspberry Pi is highly recommended because it consumes very little power and can run 24/7.
- A Microphone: A decent USB microphone is crucial. The better the microphone can filter out background noise, the more accurately your assistant will hear you.
- Speakers: Any standard set of speakers or a Bluetooth speaker connected to your machine will work.
Software Requirements
- Python 3: OpenClaw is fundamentally a Python-based framework. You will need Python 3 installed on your system.
- Basic Coding Knowledge: You do not need to be a master programmer, but knowing how to define variables, write functions, and use loops in Python is essential.
Step 1: Installing and Setting Up OpenClaw
Let us get our hands dirty. The first step is to set up your digital environment. It is always a best practice to create a virtual environment for your Python projects to keep dependencies organized.
Open your terminal or command prompt and run the following commands to create your workspace:
1mkdir my_jarvis
2cd my_jarvis
3python -m venv venv
Activate your virtual environment. Once activated, you can install the OpenClaw core library using the standard package manager.
1pip install openclaw-core
2pip install openclaw-speech
We install both the core logic engine and the specific speech module. The speech module handles the heavy lifting of converting audio waves into text strings that our code can understand.
Step 2: Initializing the Assistant
Now that the software is installed, we need to write the foundational script. Create a new file named main.py in your project folder.
This script will initialize the OpenClaw engine, set up a basic configuration, and start the system.
1import openclaw as oc
2
3# Initialize the core assistant
4jarvis = oc.Assistant(name="Jarvis")
5
6# Configure basic settings
7jarvis.set_sensitivity(0.8)  # Adjust microphone sensitivity
8jarvis.set_language("en-US") # Set language profile
9
10print("System initialized. Awaiting commands.")
11
12# Keep the program running
13jarvis.run()
When you execute this script, OpenClaw boots up. However, it does not do anything yet because we have not taught it any commands. Let us fix that.
Step 3: Creating Your First "Wake Word"
A digital assistant needs to know when you are talking to it. Otherwise, it would try to process every conversation you have in the room. The "Wake Word" is the trigger.
OpenClaw makes listening for a wake word incredibly straightforward. We will use a decorator, which is a special Python syntax that links a spoken phrase directly to a function.
1import openclaw as oc
2
3jarvis = oc.Assistant(name="Jarvis")
4
5@jarvis.on_wake_word("jarvis")
6def acknowledge():
7    print("Yes, I am here. How can I help?")
8    # We will add actual voice output in the next step
9
10jarvis.run()
Now, the system actively listens to the microphone stream. When the audio profile matches the word "Jarvis," it immediately runs the acknowledge() function.
Step 4: Giving Your Assistant a Voice
A text output on a screen is boring. Jarvis needs to speak. OpenClaw handles voice synthesis through its audio output module. You can customize the pitch, speed, and gender of the voice.
Let us upgrade our previous script to include spoken feedback.
1import openclaw as oc
2from openclaw.modules import TextToSpeech
3
4jarvis = oc.Assistant(name="Jarvis")
5voice = TextToSpeech()
6
7# Configure the voice profile
8voice.set_rate(175) # Speed of speech
9voice.set_volume(0.9) # Volume level 0.0 to 1.0
10
11@jarvis.on_wake_word("jarvis")
12def acknowledge():
13    voice.speak("System online. Good to see you.")
14
15@jarvis.on_command("what time is it")
16def tell_time():
17    current_time = oc.utils.get_time_formatted()
18    voice.speak(f"The current time is {current_time}.")
19
20jarvis.run()
Notice the new decorator: @jarvis.on_command(). Once the assistant is awake, it listens for specific command phrases. If you say "what time is it," it executes the function and speaks the result back to you.
Step 5: Connecting Core Functions and APIs
An assistant that only tells the time is not very useful. The real power of OpenClaw comes from its ability to interact with the outside world via APIs (Application Programming Interfaces).
Building a Weather Module
Let us teach Jarvis to check the weather. You will need a free API key from a weather service provider (like OpenWeatherMap). Once you have it, you can use OpenClaw's built-in web request utilities.
1import openclaw as oc
2import requests
3
4@jarvis.on_command("check the weather")
5def weather_report():
6    api_key = "YOUR_API_KEY"
7    city = "Amritsar"
8    url = f"http://api.weatherapi.com/v1/current.json?key={api_key}&q={city}"
9
10    try:
11        response = requests.get(url).json()
12        temp = response['current']['temp_c']
13        condition = response['current']['condition']['text']
14
15        report = f"It is currently {temp} degrees Celsius and {condition} outside."
16        voice.speak(report)
17    except Exception as e:
18        voice.speak("I am having trouble connecting to the weather service.")
By wrapping the web request in a try...except block, we ensure that Jarvis does not crash if your internet goes down. Instead, it gracefully informs you of the connection error.
Step 6: Smart Home Integration
The ultimate goal of a personal Jarvis is controlling your environment. OpenClaw excels at local network communication. If you have smart bulbs, smart plugs, or a connected thermostat, you can control them using network protocols like MQTT or direct local HTTP requests.
Assume you have smart lights that accept local network commands. You can create a custom module to control them.
1import openclaw as oc
2
3@jarvis.on_command("turn on the lights")
4def lights_on():
5    # Example local IP address of your smart bulb hub
6    hub_ip = "192.168.1.50"
7    payload = {"state": "on", "brightness": 100}
8
9    oc.network.send_post_request(f"http://{hub_ip}/api/lights", data=payload)
10    voice.speak("Lights are now on.")
11
12@jarvis.on_command("dim the lights")
13def lights_dim():
14    hub_ip = "192.168.1.50"
15    payload = {"state": "on", "brightness": 30}
16
17    oc.network.send_post_request(f"http://{hub_ip}/api/lights", data=payload)
18    voice.speak("Lights dimmed for a relaxing atmosphere.")
You can now control your physical environment using only your voice, entirely bypassing external cloud providers. Your commands travel instantly over your local Wi-Fi router.
Step 7: Creating Advanced Automation Workflows
Single commands are great, but chained workflows are where your assistant truly becomes powerful. OpenClaw allows you to create routines that execute multiple tasks in sequence.
Let us build a "Good Morning" routine. When you trigger this routine, Jarvis will turn on the lights, read the time, fetch the weather, and summarize your calendar events.
1@jarvis.on_command("initiate morning routine")
2def morning_routine():
3    voice.speak("Good morning. Initiating daily startup sequence.")
4
5    # Task 1: Environment
6    lights_on()
7
8    # Task 2: Time and Date
9    tell_time()
10
11    # Task 3: Weather
12    weather_report()
13
14    # Task 4: Custom Logic (e.g., Calendar)
15    events = fetch_calendar_events()
16    if events:
17        voice.speak(f"You have {len(events)} appointments scheduled for today.")
18    else:
19        voice.speak("Your calendar is clear for today.")
20
21    voice.speak("Routine complete. Have a great day.")
This level of automation transforms your computer from a simple passive machine into a proactive helper. You can create similar routines for "Lock down the house" at night or "Focus mode" when you start working.
Structuring Your Project for Scalability
As you add more commands, your main.py file will become massive and difficult to read. Good software engineering practices dictate that we should separate our concerns.
OpenClaw supports a plugin architecture. You should organize your project directory like this:
- /my_jarvis
- main.py (Only used to boot the system)
- /config (Stores API keys and settings)
- /modules
- weather_claw.py
- smart_home_claw.py
- calendar_claw.py
Inside your main.py, you simply import these modules. This keeps your codebase clean, readable, and easy to maintain. If your weather script breaks, you know exactly which file to check without scrolling through hundreds of lines of unrelated code.
Best Practices for Maintaining Your Jarvis
Building the system is only the first phase. Maintaining it and ensuring it runs reliably is a continuous process. Here are the best practices for keeping your OpenClaw assistant in top shape.
1. Run it as a Background Service
If you are running Jarvis on a Raspberry Pi, you do not want it to shut down just because you closed your terminal window. Configure your operating system to run OpenClaw as a system service (using systemd on Linux). This ensures Jarvis automatically boots up when the power turns on.
2. Implement Strong Error Handling
Hardware fails. Networks drop. APIs change their endpoints. Always assume that external connections will eventually fail. Wrap all network calls in try-catch blocks. Your assistant should never crash; it should simply report that a specific module is temporarily offline.
3. Keep API Keys Secure
Never hardcode your API keys directly into your Python scripts. Use environment variables or a separate .env file. If you ever upload your code to a public repository like GitHub, you do not want strangers using your API quotas or accessing your smart home data.
4. Optimize Microphone Placement
The smartest code in the world cannot fix bad audio input. Place your microphone away from walls and avoid putting it right next to noisy computer fans. A clear audio signal drastically improves command recognition accuracy.
Expanding Jarvis: What Else Can You Do?
The beauty of OpenClaw is that its capabilities are only limited by your imagination and your willingness to write a little Python code.
- System Monitoring: Write a script that checks your server's CPU usage or your home network's bandwidth and alerts you if something is wrong.
- Media Control: Integrate OpenClaw with your media player. Write commands to pause music, skip tracks, or load specific playlists based on your mood.
- Security Alerts: Connect USB cameras or motion sensors to your Raspberry Pi. If a sensor is tripped while you are away, OpenClaw can send an automated email or text message directly to your phone.
Frequently Asked Questions (FAQ)
Q: Do I need an active internet connection to use OpenClaw? A: Not for core features. OpenClaw processes wake words and basic commands locally. However, if your specific commands require fetching data from the web (like weather or news APIs), those specific modules will need internet access to function.
Q: How much RAM does OpenClaw consume? A: The core engine is highly optimized. It typically consumes less than 150MB of RAM while idling. This makes it perfect for older laptops or microcomputers like the Raspberry Pi Zero.
Q: Can I change the wake word to something other than Jarvis? A: Absolutely. The wake word is fully customizable in your script. You can name your assistant anything you like. Shorter names with hard consonants tend to be recognized more accurately by the audio processor.
Q: Is it difficult to add new smart devices later? A: No. Because of the modular design, you can write a new function for a new smart plug and inject it into your running code without having to rebuild the entire system from scratch.
Conclusion
Building your personal Jarvis is one of the most rewarding coding projects you can undertake. It bridges the gap between software programming and the physical world.
By using the OpenClaw framework, you bypass the privacy concerns and limitations of commercial smart speakers. You gain a powerful, flexible, and completely private assistant that does exactly what you tell it to do.
Start small. Get the wake word working first. Make it tell you the time. Then, gradually add modules for weather, lighting, and daily routines. Step by step, you will build a digital assistant that truly feels like a personalized part of your daily life. Gather your hardware, open your terminal, and start coding your assistant today.
About the Author

Suraj - Writer Dock
Suraj Kumar is a writer, entrepreneur, and the CEO and founder of this website, sharing simple and practical insights on business, creativity, and personal growth. With experience building digital projects, they enjoy helping others learn, grow, and succeed online.